MGW Shifter
Today I installed a MGW shifter in the Corvette. I thought I’d document it for anyone curious how it went or would like to do the same on their car.
Here are some of the YouTube videos from MGW I watched to help show me how to do the install.
https://youtu.be/KEgvKvO3P3k
https://youtu.be/Kwi_xMJA600
There are plenty of tear down videos online so I skipped taking pictures of that. I’ll try and fill in the spots that might have been lacking in the MGW install video.
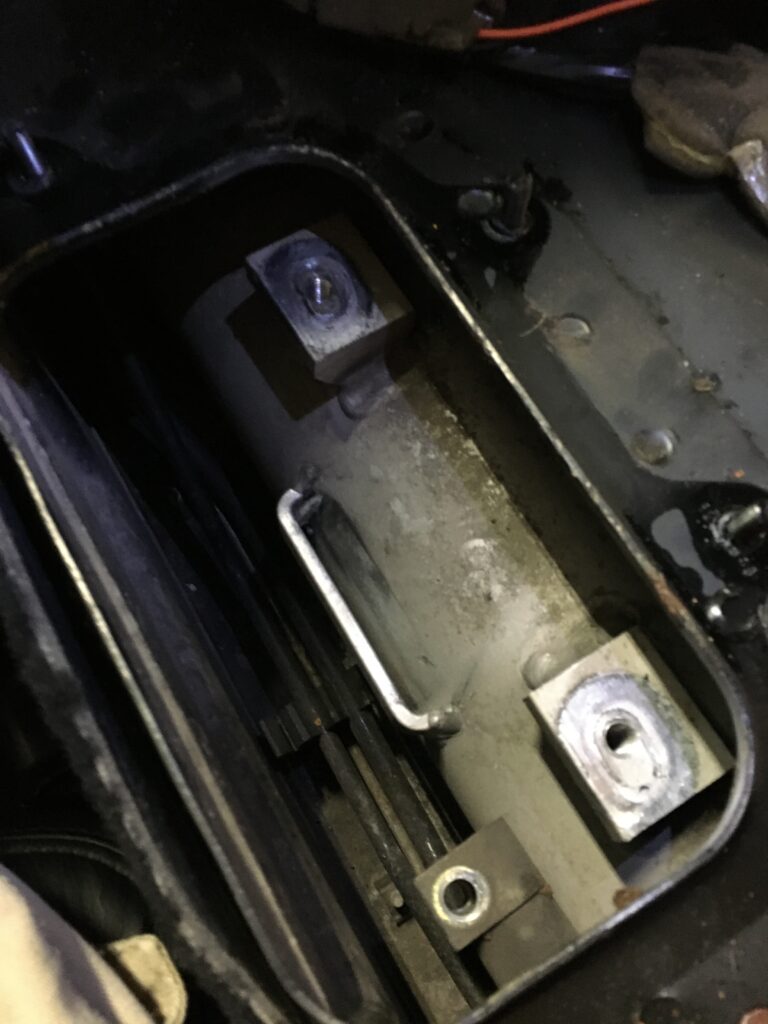
Heres is what the shifter hole looks like with the torque tube below after I got the interior taken apart and the old shifter taken out. I took some brake cleaner to clean off the surfaces.
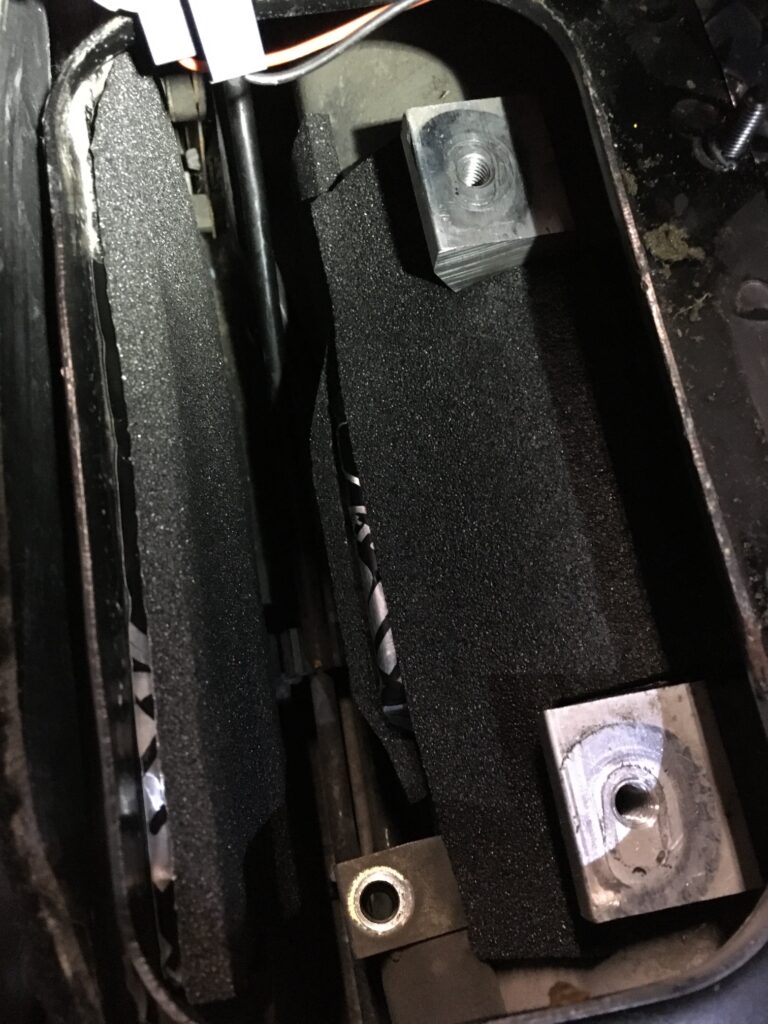
The MGW kit came with dynomat and some heat insulation. I purchased a second mat of dynomat from them so I could add a little extra. That’s the only thing I got tripped up a little on in the MGW install video is they have a ton of dynamat already installed.
Here is what the final product looked like. The dynamat goes down first, then the heat insulation second. They go on the torque tube and the inside of the tub.
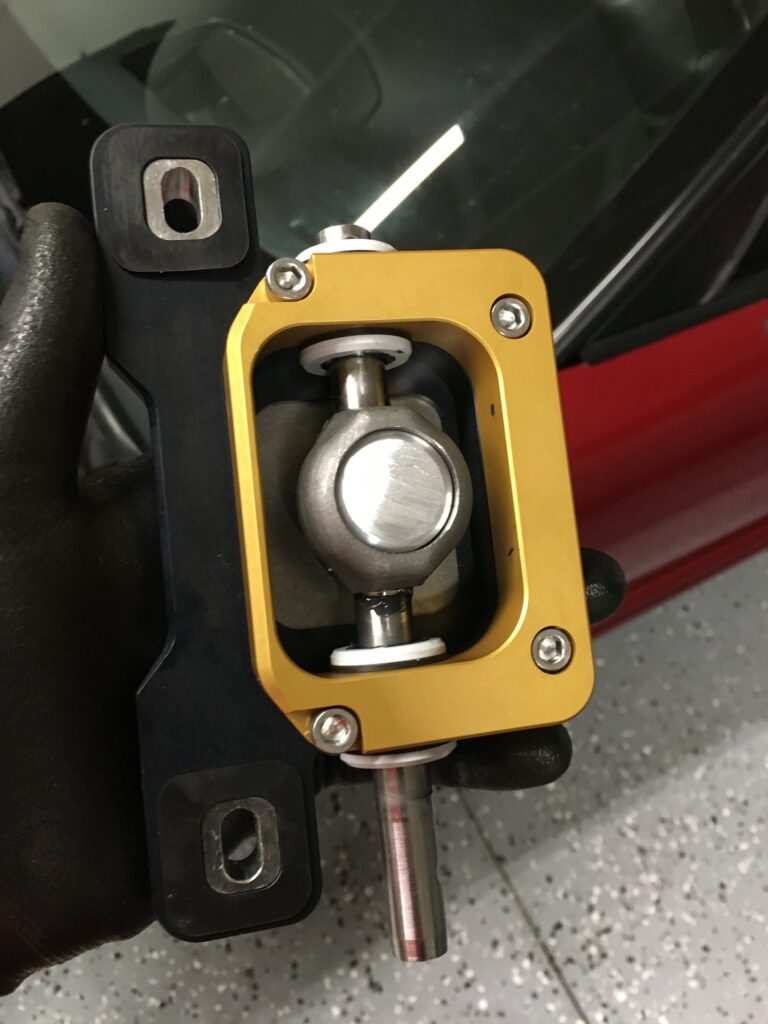
After assembling the lower box, the install video doesn’t talk about the new alignment tool they give you. It makes it a lot easier. It bolts to the same place the shifter will go and holds the shifter rod in the perfect neutral position so you can just bolt down the lower box without messing around with visually trying to align it.
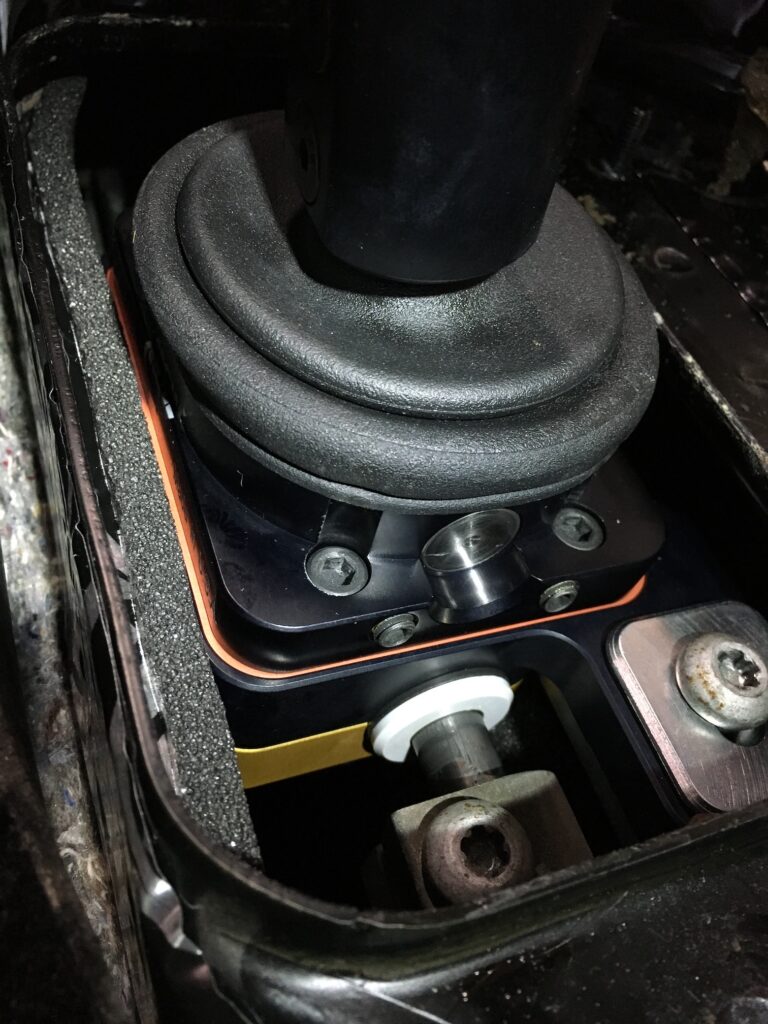
Here is the installed lower shifter box with the alignment tool still installed.

When you install the top shifter, the bolts actually sink pretty low into the housing. This is what mine looked like fully tightened.
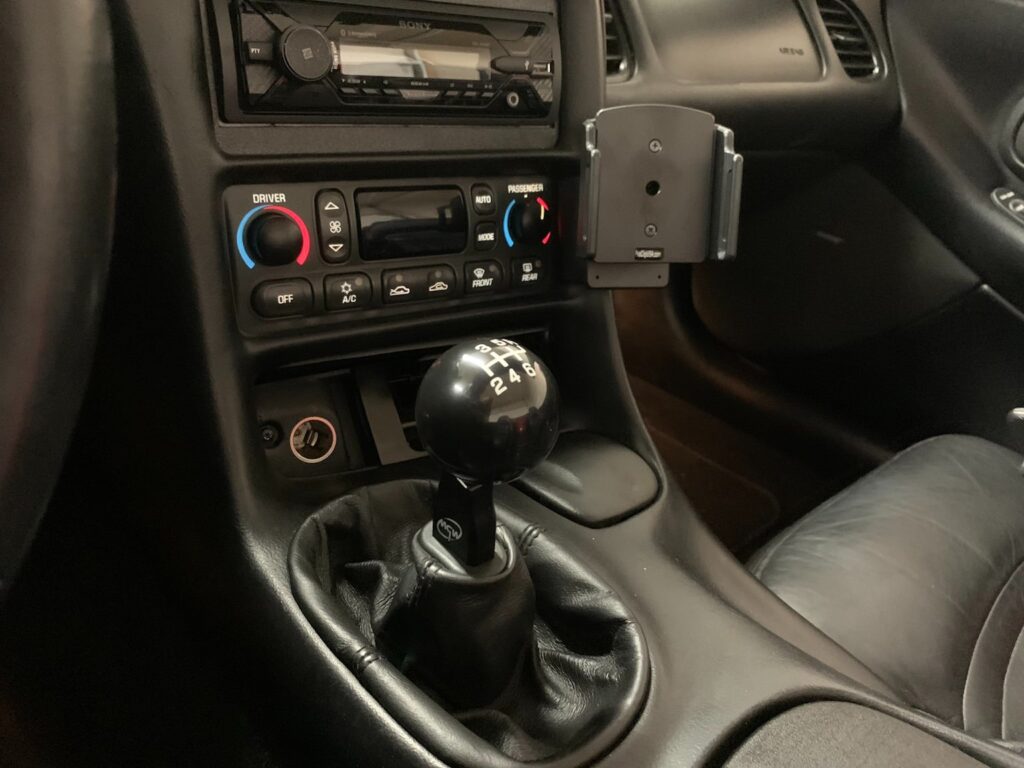
Everything else went according to the instructions. This is what it looks like all installed
Leave a Reply